
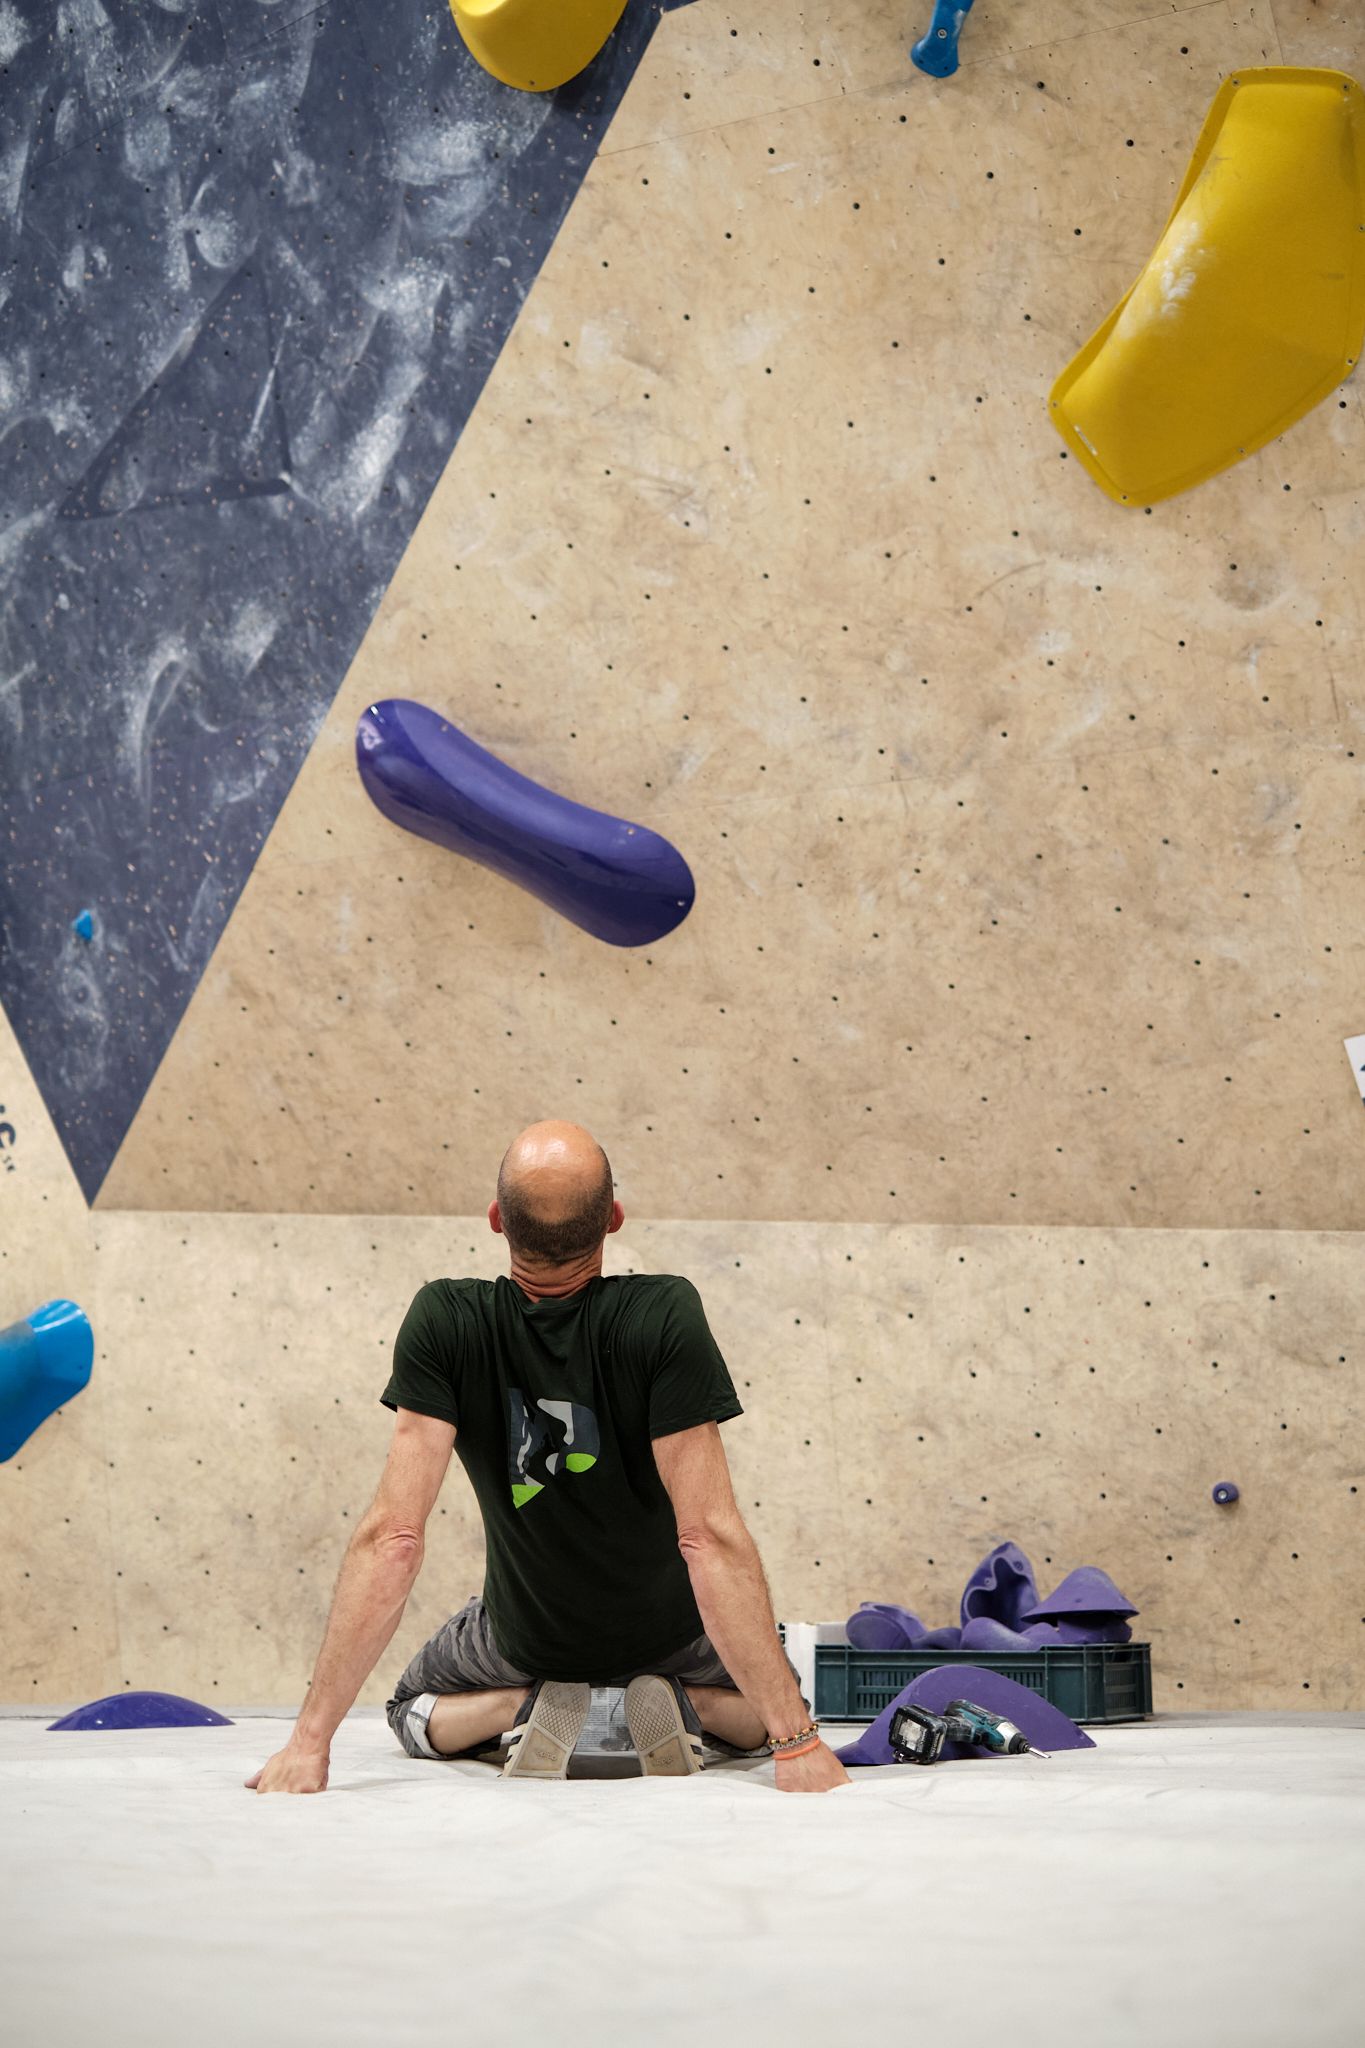
Step 01/ 06
The idea before the drill
The setter first decides what the route teaches — precise footwork, a dynamic jump, hip movement or balance. Only then come the holds.
Every route on our wall was thought up, set and tested by someone. Here is how we do it — and how to pick the one that is right for you.




Grading system
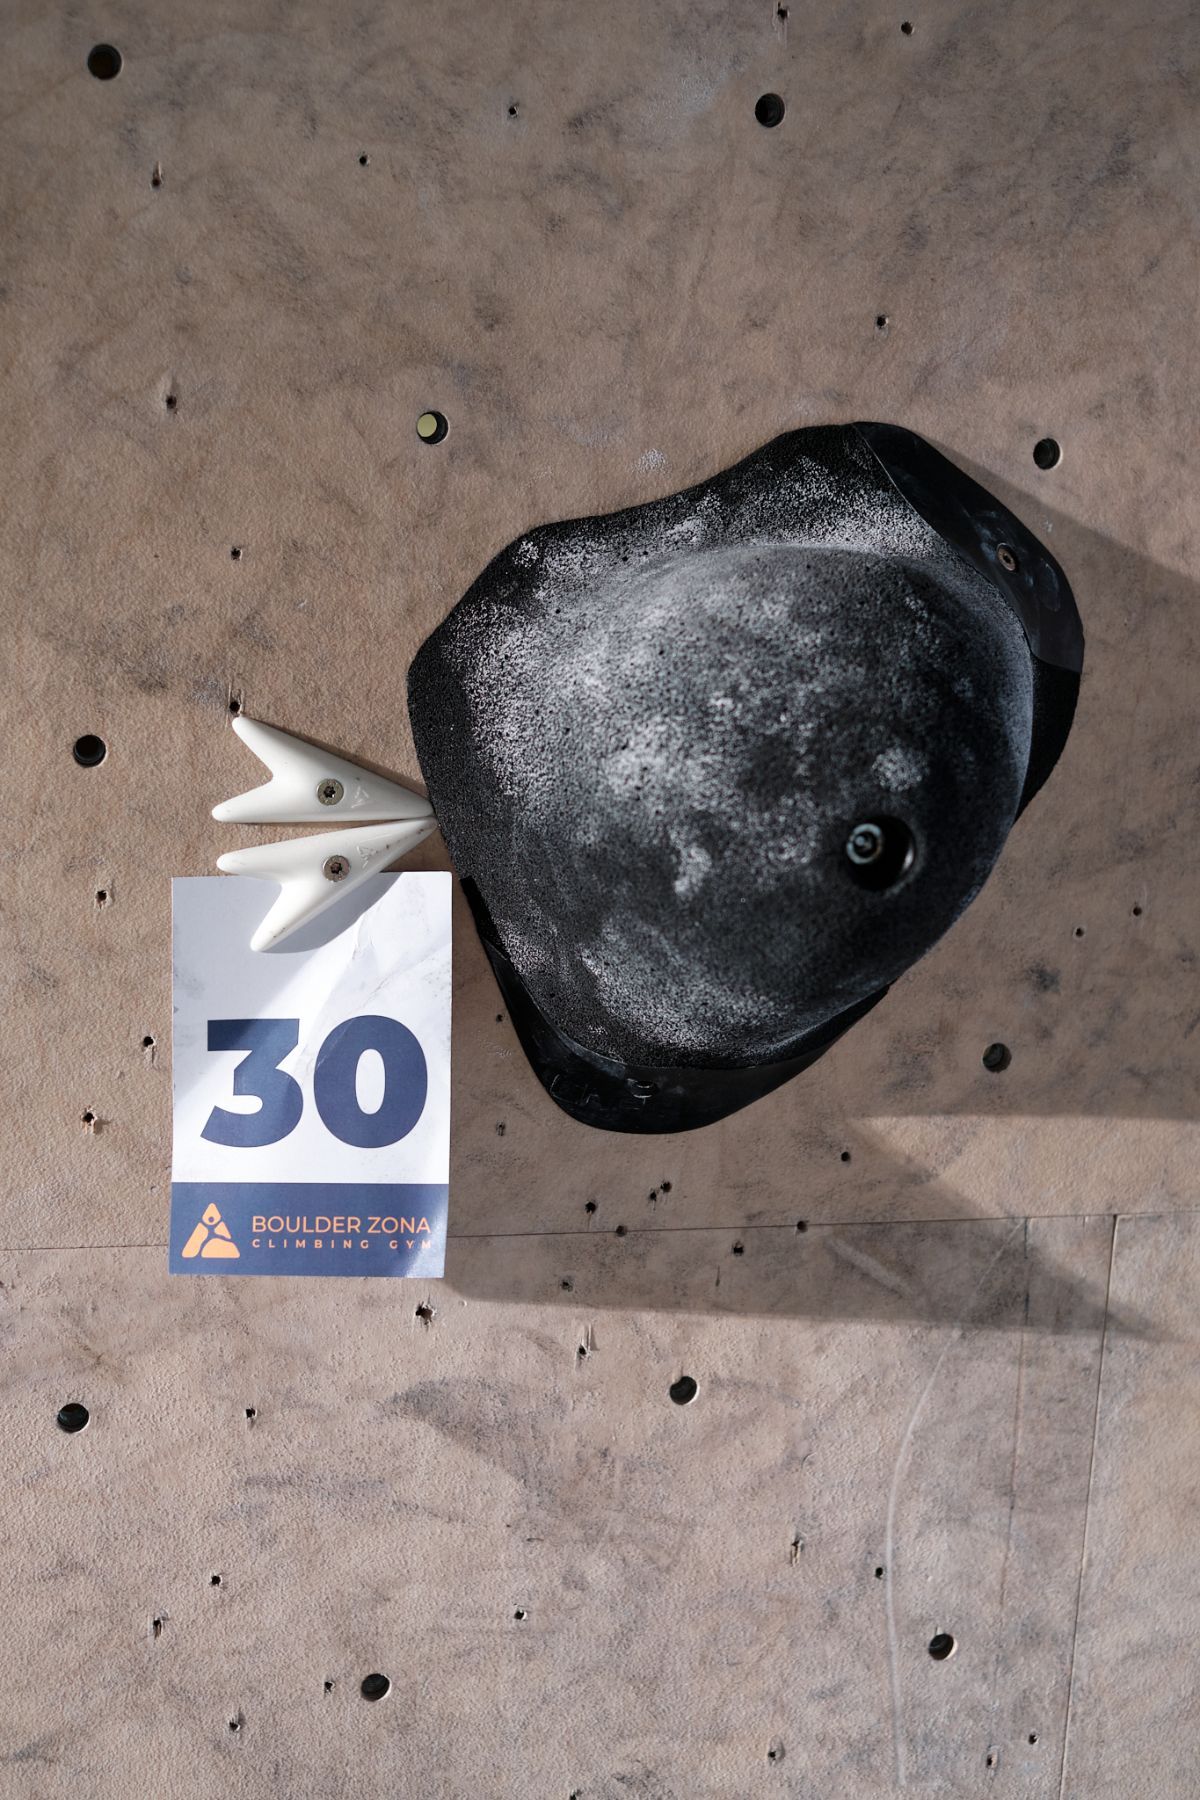
Next to the start hold of every route there is a small arrow — its colour is the grade of the route. The holds do not have to be that colour: you climb on holds of one colour, and the arrow tells you whether the route is for you.
| Colour | Font scale | V scale | Level |
|---|---|---|---|
| Orange | 3–4 | V0 | Curious |
| Green | 4–5 | V0–V1 | Beginner |
| Blue | 5–6a | V1–V3 | Keen beginner |
| Yellow | 6a–6b | V3–V4 | Climber |
| Pink | 6b–6c | V4–V5 | Good climber |
| Red | 6c–7a | V5–V6 | Boulderer |
| White | 7a–7b | V6–V8 | Strong boulderer |
| Black | > 7b | > V8 | Ace |
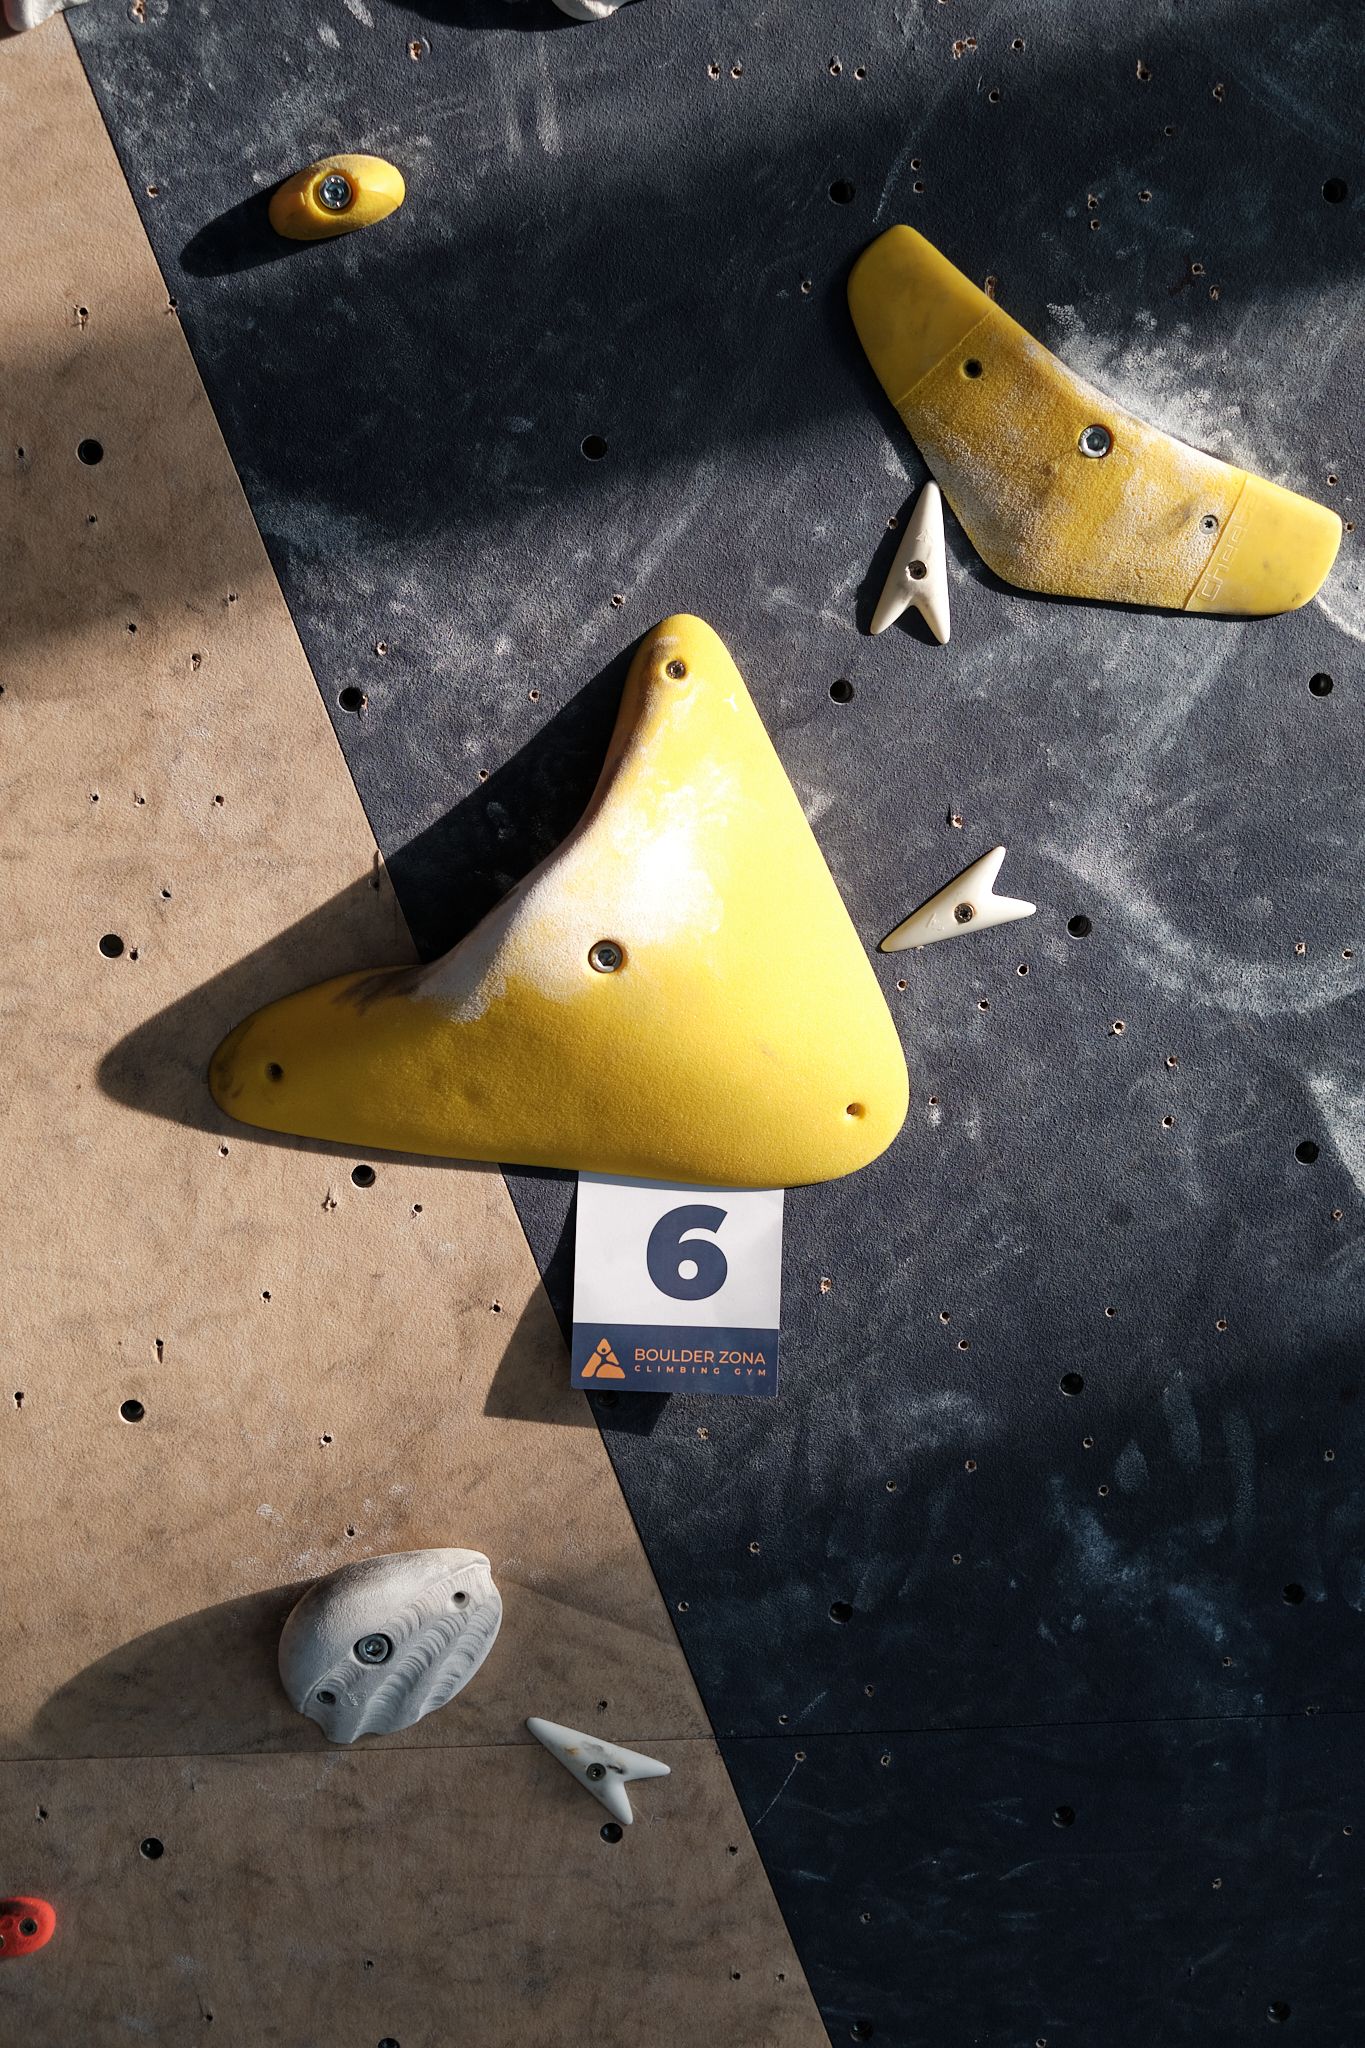

The same arrow colour on an overhang and on a slab does not feel the same. A grade colour is a range, not an exact number.

Hands and feet use holds of one colour. Volumes have their own rules.

Every route, its colour and its sector are in the app — log your ascents and track your progress.
New rules
Volumes are not always allowed. Before you climb, check whether you may use one.
Markers on volumes
A volume may be used if it carries a marker in the colour of the route you are climbing.
A volume may also be used if it has a hold in your route's colour on it.
Volumes that touch — one on top of another or side by side (a volume cluster) — count as one volume.
How routes are set
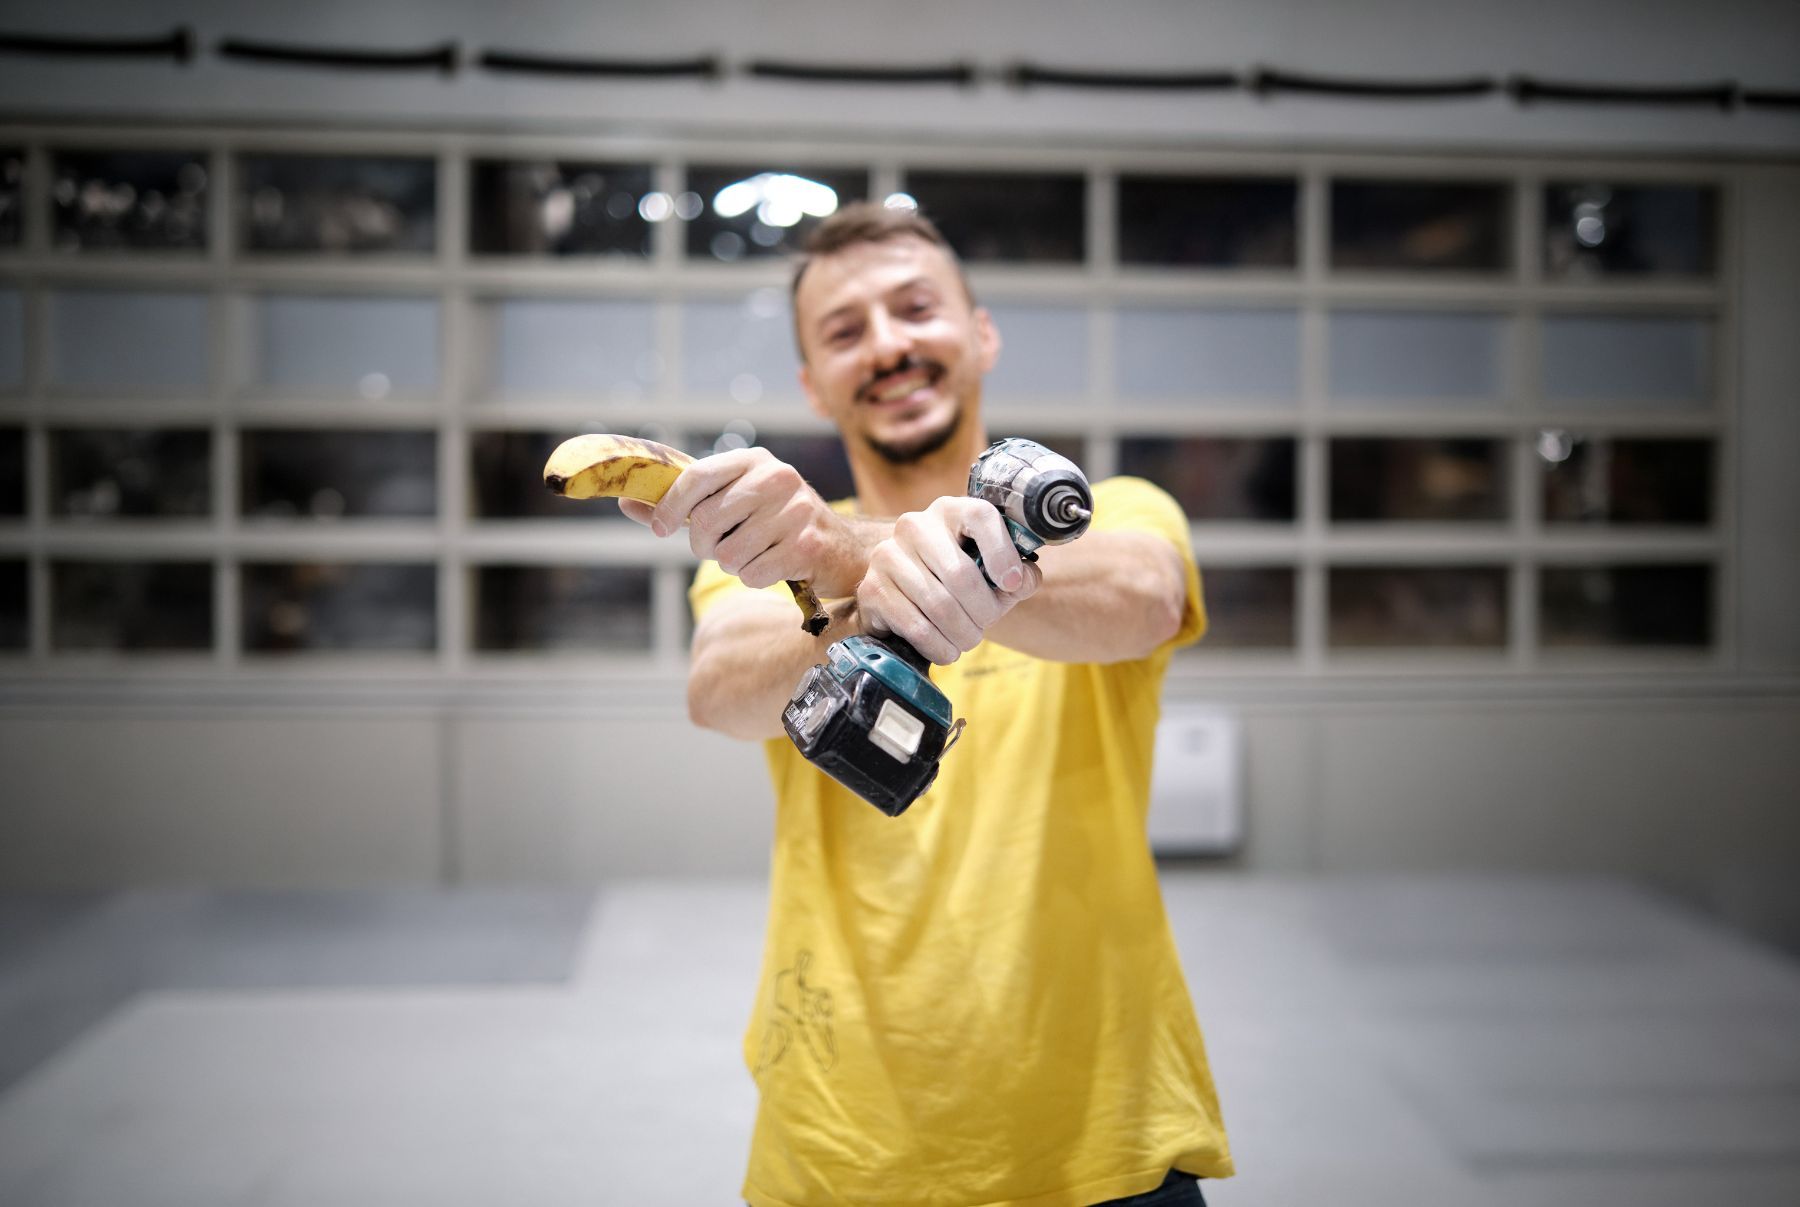
A good boulder is no accident. It brings together technique, strength, movement and safety — and it has a clear intent. This is how every route at Boulder Zona comes to be.
6 stepsStep 01/ 06
The setter first decides what the route teaches — precise footwork, a dynamic jump, hip movement or balance. Only then come the holds.
Step 02/ 06
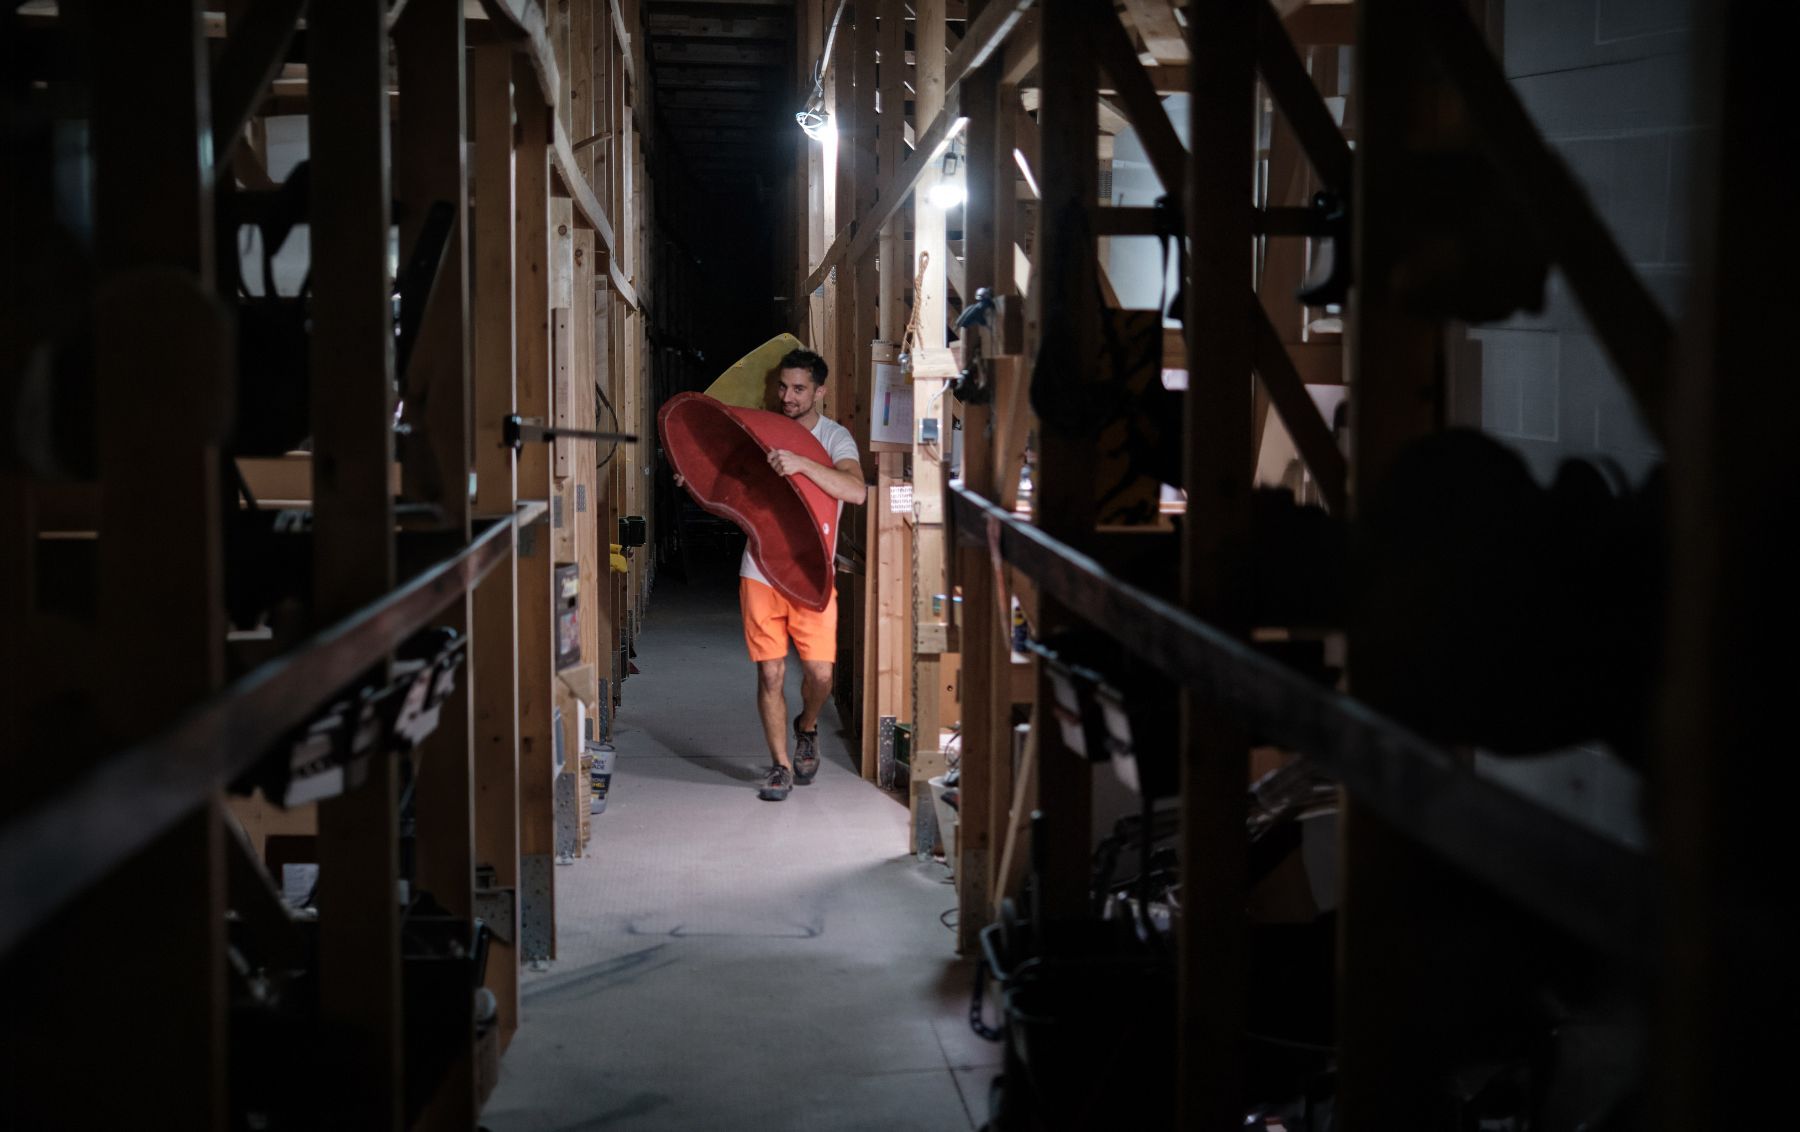
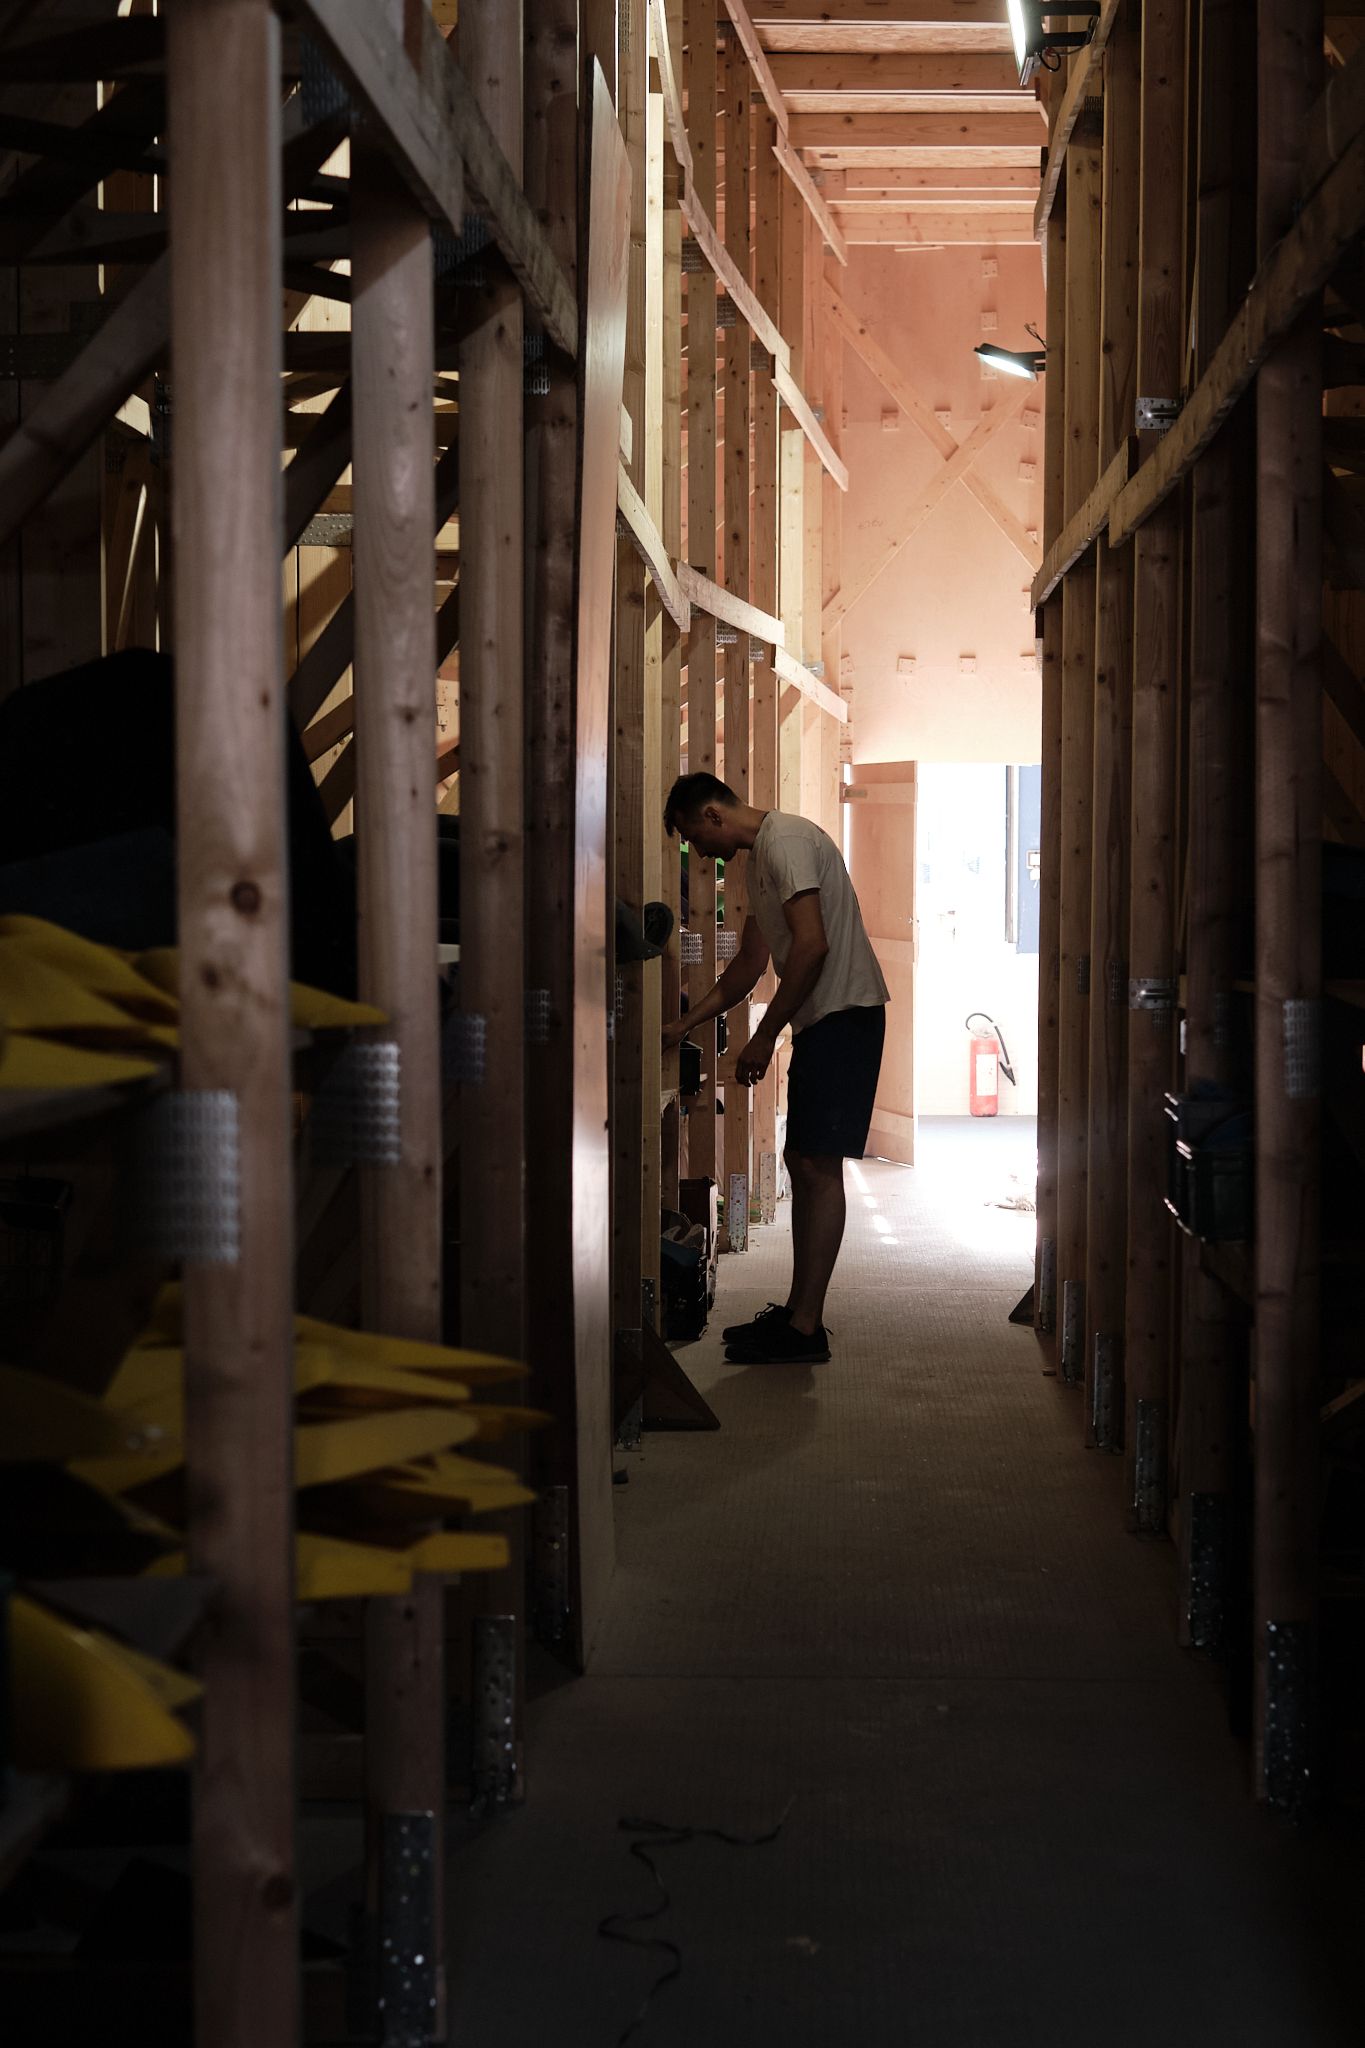
The same hold is easy on a slab and hard on an overhang. Crimps, slopers and pinches that serve the idea are picked out of the store.
Step 03/ 06
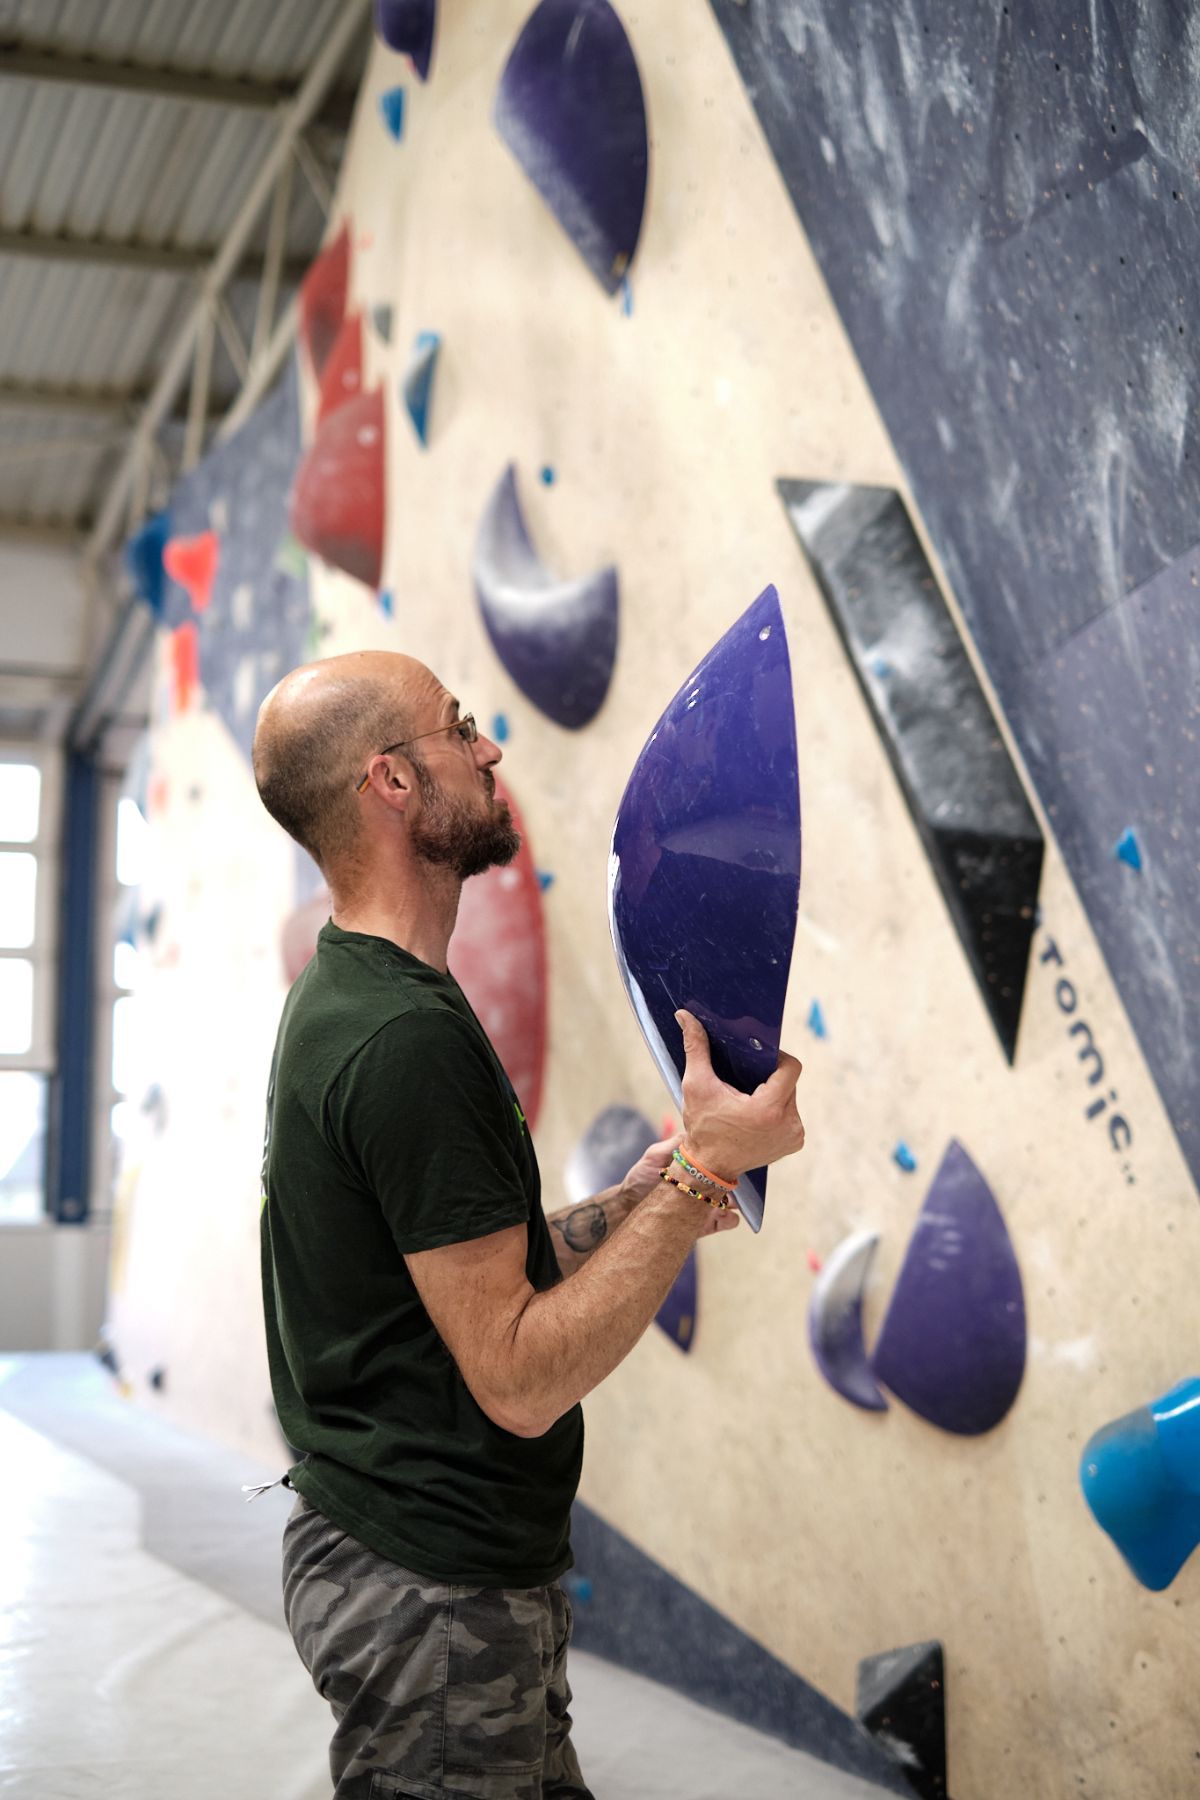
Big volumes set the line of the route. The setter holds them up, turns them and looks before fixing them in place.
Step 04/ 06
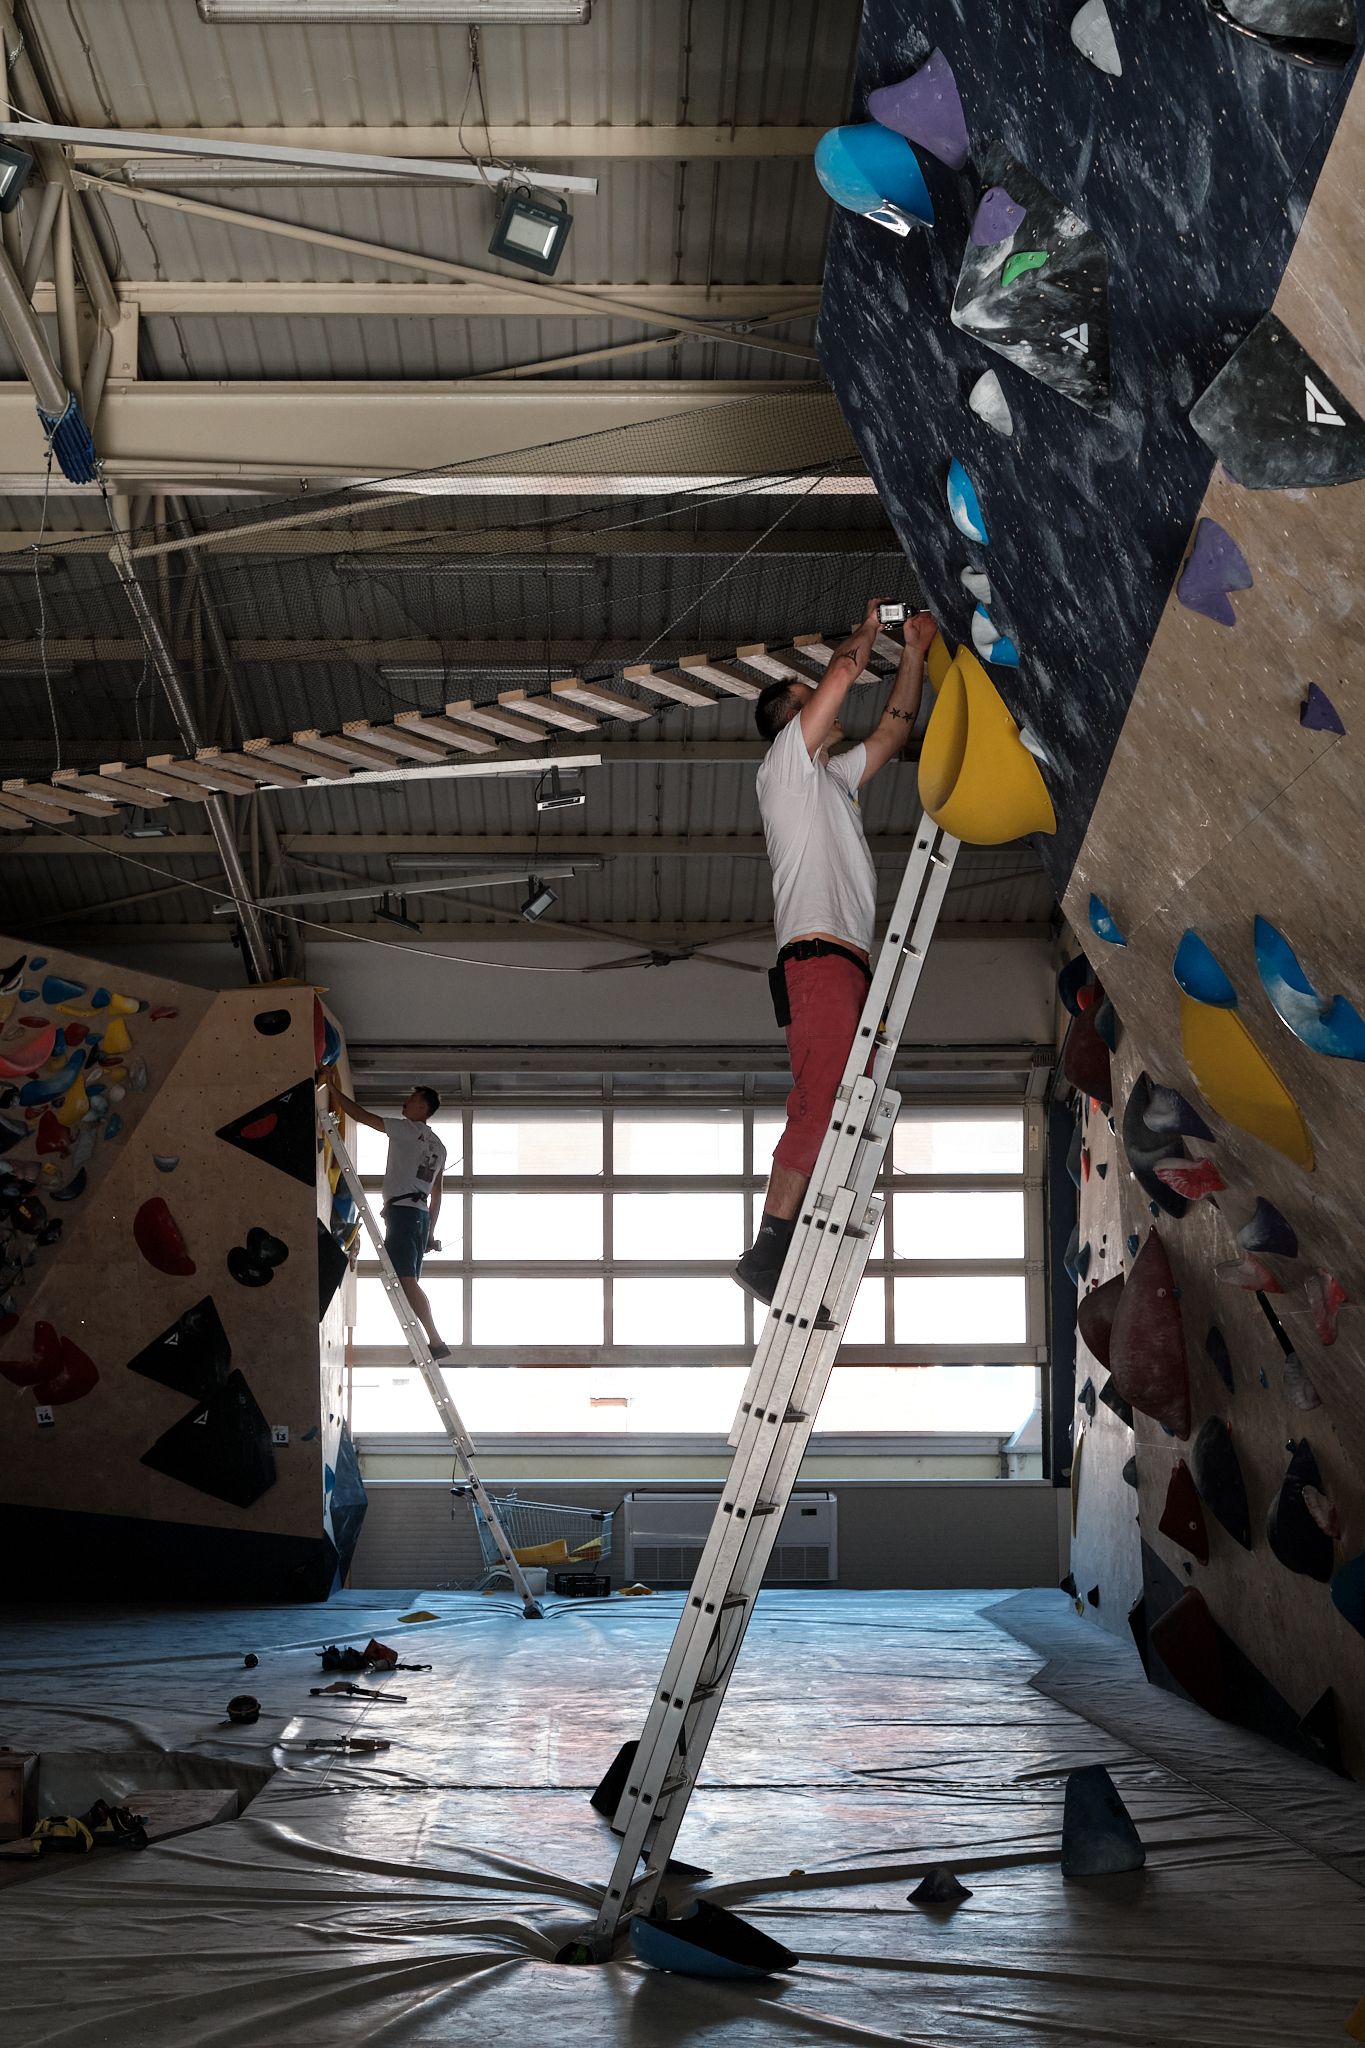
From the ladder, hold by hold. The rotation and the distance to the next move decide where the effort goes — into the fingers, the shoulders or the legs.
Step 05/ 06
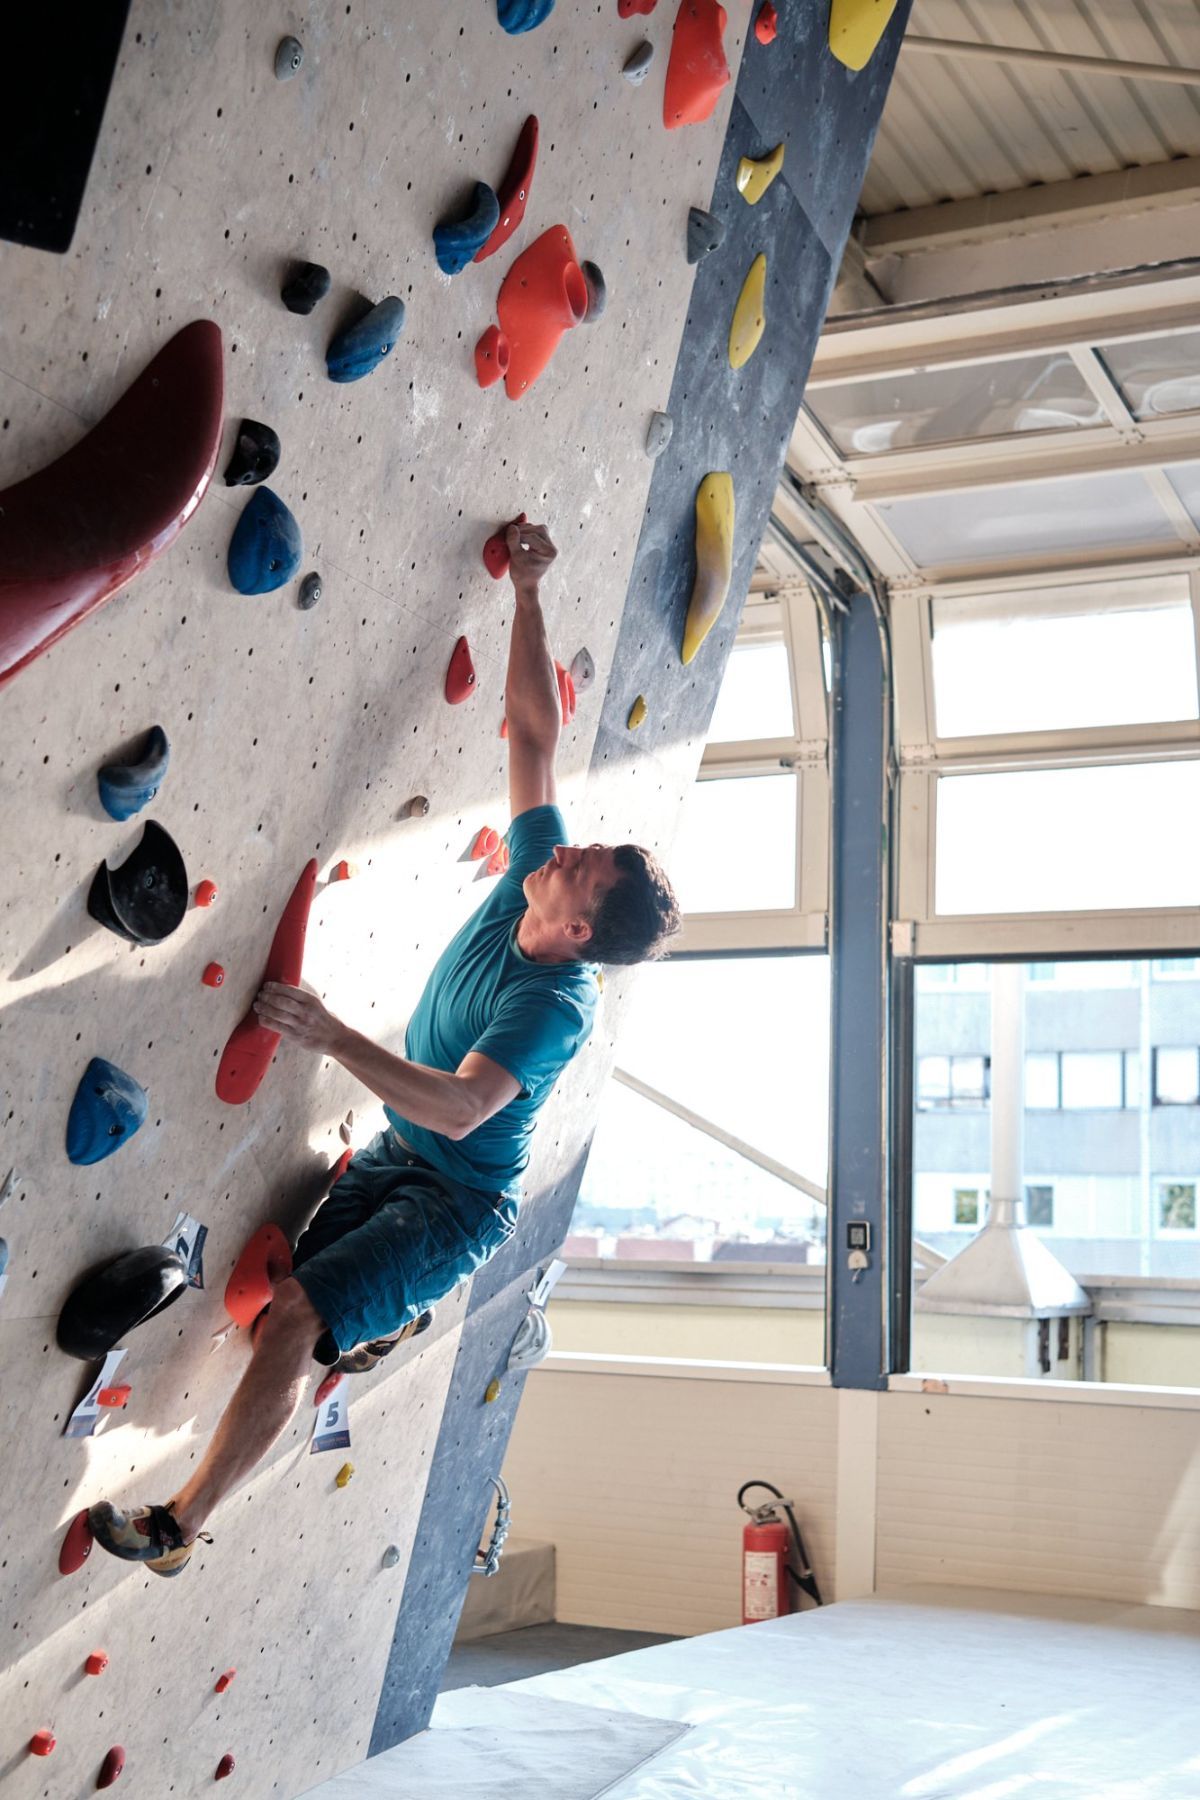
Climbers with different styles try the route. The fall zone gets checked too: how the body falls and where it comes off the wall.
Step 06/ 06
The route gets its grade arrow and goes into TopLogger. From that moment it is your problem.
The best way to understand a route is to climb it. See you on the wall.
New to the wall?
Three guided sessions, a small group and a coach who keeps an eye on you. No experience and no gear of your own needed.
Sign up for the courseAlready climbing?
A day pass or a membership — come in and try the new set while it is still fresh.
See pricingOur routes are set by our own crew — the same people you meet at training.
Team and coaches